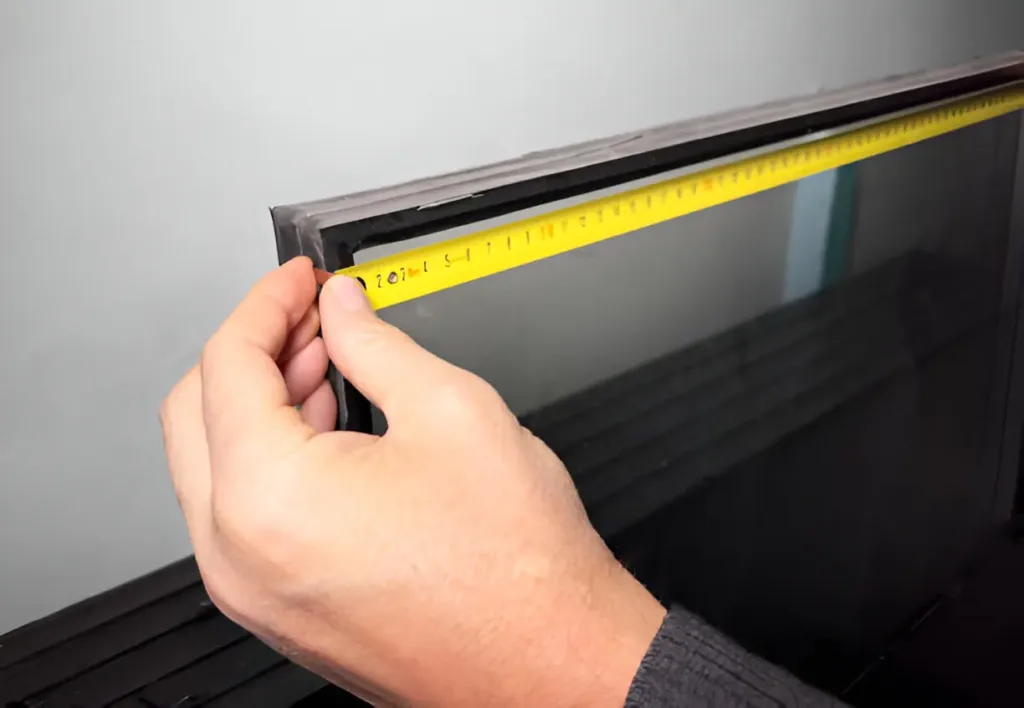
Accurately measuring a window is the first and most crucial step when planning a replacement or new installation. Whether you’re upgrading to energy-efficient, replacing damaged ones, or installing custom designs, getting the correct measurements ensures the new windows fit perfectly and function properly. Here’s a step-by-step guide on how to measure for replacement.
Step 1: Gather Your Tools
Before starting, make sure you have the necessary tools to take accurate measurements. You’ll need:
- Tape measure, preferably a steel one for better accuracy
- Notebook and pen, to record your measurements
- Level, optional but helpful for ensuring straight lines
- Ladder, if you need to measure windows that are difficult to reach
Ensure the tape measure is long enough to measure the full width and height of your frame.
Step 2: Measure the Width of the Window
To measure the width, you need to take three measurements: at the top, middle, and bottom of the window opening. Here’s how to do it:
Top Measurement
Start by measuring from one side of the jamb to the other at the top of the opening. The jamb is the vertical side of the window frame, not the outer trim. Record this measurement.
Middle Measurement
Measure across the middle of the opening, again from jamb to jamb. This is often where windows are widest or narrowest due to any settling over time.
Bottom Measurement
Finally, measure from jamb to jamb at the bottom of the opening. Make sure the tape measure is straight for an accurate reading.
After recording all three measurements, use the smallest width of the three as the final measurement. The smallest measurement ensures the new window will fit into the opening without being too large.
Step 3: Measure the Height of the Window
Next, measure the height of the window in three places: the left, center, and right sides of the opening.
- Left measurement: Measure from the sill (the horizontal bottom part of the window frame) to the top of the opening at the left side.
- Center measurement: Take a measurement from the sill to the top of the opening in the center of the window.
- Right measurement: Lastly, measure from the sill to the top on the right side of the window.
Again, record all three measurements and use the smallest height for the final measurement. This ensures the new window will fit even if there are slight variations in the frame.
Step 4: Measure the Window Depth
Measuring the depth is important to ensure the new glass will sit correctly in the frame. To measure the depth, open it measure from the inside edge of the frame to the outside edge. The standard depth for most windows is around 3.25 inches, but if you have custom windows and doors, you may need to order custom-sized.
When measuring depth, make sure to avoid including any part of the trim or molding, as these are not part of the frame.
Step 5: Check for Squareness
Once you’ve measured the width, height, and depth, it’s a good idea to check if your window frame is square. To do this, measure the diagonals of the opening. Start by measuring from the top left corner to the bottom right corner, and then measure from the top right corner to the bottom left corner. If both diagonal measurements are the same, your frame is square. If not, you may need to make adjustments during installation or consult a professional installer.
Step 6: Record and Double-Check Your Measurements
Write down all your measurements carefully, and make sure to label them (width, height, depth). Once you have the numbers recorded, it’s a good idea to double-check your work. Measure again to ensure accuracy, as even a small mistake can lead to ordering the wrong size.
Step 7: Additional Considerations
Custom Windows
If you’re ordering custom windows, provide your measurements to the manufacturer, but make sure they are aware of any specific installation needs, such as room for insulation or trim.
Window Style
The type you’re measuring may impact the process slightly. For instance, if you’re replacing an older style like a casement window with a sliding window, you’ll want to ensure the replacement fits the existing opening and functionality.
Professional Help
If your frame is not square or if the measurements seem unusual, you might want to consult a professional installer to avoid complications.
The Complicated Nature of Custom Windows and Doors
Accurate measurements are essential for a smooth replacement process. By following these steps, you can ensure your measurements are precise, leading to a better fit for your new windows and avoiding potential issues down the road. Remember to always measure multiple times and record the smallest measurements to guarantee a perfect fit.
Whether you’re tackling a DIY replacement or working with a professional, understanding how to measure frames or glass will help the project go smoothly and ensure your new windows enhance both the function and appearance of your home.
Also Read- Instructions to Disability Services: A Comprehensive Procedure
